
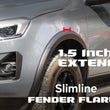


Product Description
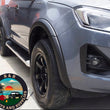
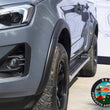
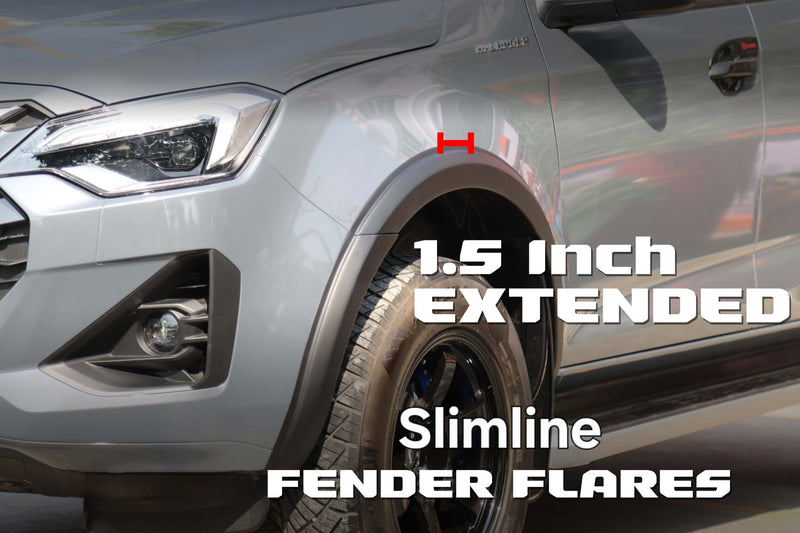
Compatible with 2024/2026 (Dual cab and Space cab)
(Approximately 38mm mm) Additional poke coverage.)
Fender Flare Kit Installation Guide
General Instructions for Front and Rear Fender Flares – Suited for Various Vehicle Models
---
1. Initial Test Fit:
Before you begin installation, always perform a full test fit of all flare components. This step helps you understand the fitting process, check for any issues, and ensure you're comfortable with the placement. It might take a bit more time, but it’s worth doing properly.
---
2. Rear Flares:
Start with the rear flares. Remove the mud flap screws and take off the rear mud flaps. Position the flare onto the guard and loosely fit it using the mud flap screws, along with the additional screws that line up near the rear of the cabin.
Note: Our flare kits are compatible with all standard mud flaps. You can refit the original mud flaps using the same screws once the flares are mounted.
Check the flare alignment and make sure it sits flush. Repeat the same on the opposite side.
---
3. Front Flares:
Move to the front flares. Again, remove the mud flap screws and mud flaps. Position the flare onto the guard using the same mounting points. If your vehicle has a snorkel—especially large footprint snorkels like Safari—check for clearance, as trimming may be required.
Refit the standard front mud flaps using the original screws once the flare is in place.
---
4. Front Bumper Section (If Applicable):
If your vehicle does not have a bull bar and still retains the front bumper, your flare kit may include two small bumper flare sections. These require drilling.
Fit the rear section of the front flare first, then hold the bumper flare in place. You’ll see where holes need to be marked and drilled. Once marked, drill holes as required and secure using the provided clips and screws.
---
5. Cleaning Before Final Fitment:
After the test fit and before final install, clean all contact surfaces. Use a 50-50 mix of isopropyl alcohol and water to wipe down the guards or panels where the adhesive will bond.
This removes dirt, road grime, bug matter, and any other contaminants that could prevent proper adhesion. Allow everything to dry completely before continuing.
---
6. Preparing the Adhesive Tape:
Before screwing in the flares, prepare the adhesive tape for easy removal. The adhesive strip runs along the top edge of each flare.
Peel back a small section of the red backing tape from both ends of each flare piece. Let the ends hang loose so you can grab them later. This way, once the flare is screwed in and sitting where it should, you can pull the tape out smoothly. If one side snaps off, you’ll have the other end as a backup to pull from.
---
7. Final Fit and Bonding:
With the flare screwed in and adhesive tape backing removed, use a clean microfiber or soft cloth to press along the top edge of the flare. Apply firm, even pressure across the full length to activate the adhesive and ensure it bonds properly.
---
Important – Curing Time:
Do not expose the adhesive to any water or moisture for at least twenty-four hours after installation. This includes rain, washing the vehicle, or any kind of damp conditions. Allowing full curing time will help the adhesive achieve maximum bond strength and prevent lifting or failure.
Shipping Policy
Orders are processed within 1-2 business days and typically delivered within 3-7 business days. For more information, please visit our Shipping Policy page.
Returns Policy
We accept returns within 30 days of purchase. Products must be unused and in original packaging. For detailed return instructions, please visit our Returns Policy page.

Exclusive Wholesale Pricing
Unlock tiered pricing, volume discounts, and bulk order incentives built specifically for auto professionals.

Safe & Secure Payment
All transactions are protected with advanced encryption and secure gateways. Shop worry-free with trusted payment methods.

Custom Orders & Bundles
Request custom kits or bulk packages tailored to your shop's needs and seasonal trends.

100% Genuine Products
We supply only OEM and high-quality aftermarket parts you can trust — no compromises on quality or performance.