

Product Description
- Compatible with 08/2021- Current 2026 Isuzu Mu-X
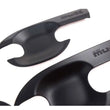
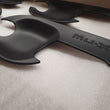
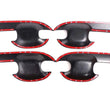
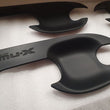
- Matte black colour
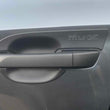
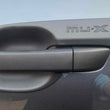
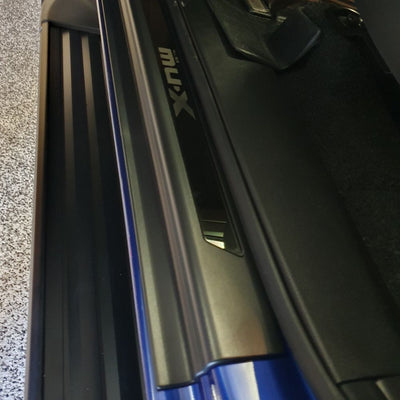
- Has Mu-X printed on each protector.
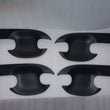
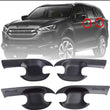
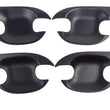
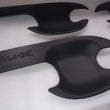
- Complete set x4 protectors- pre fitted with adhesive tape.
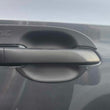
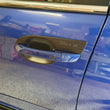
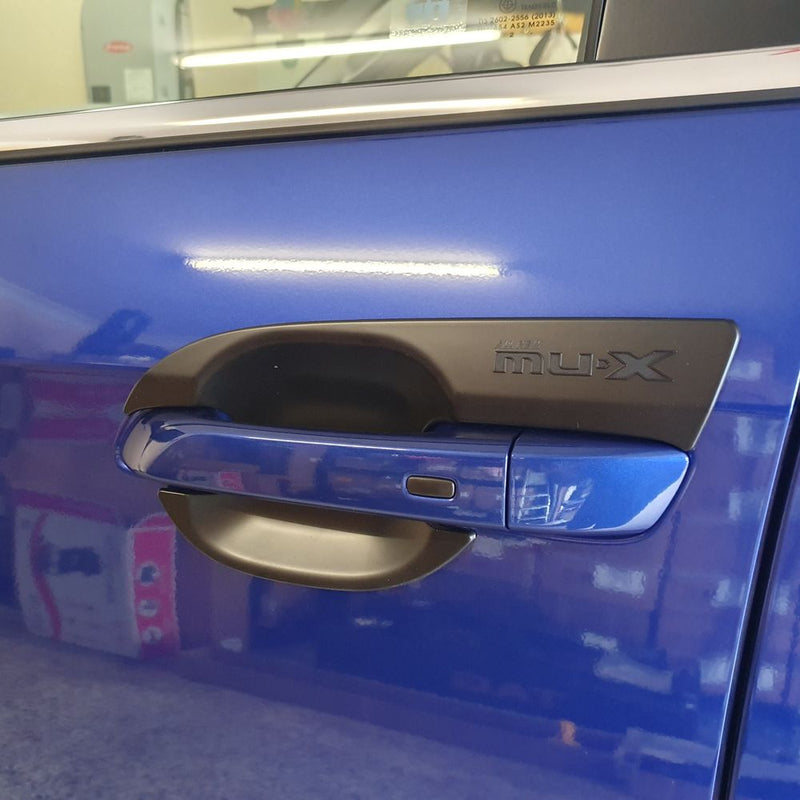
Don't wait for those inevitable scratches to mar the beauty of your new Mu-X. Our door cup protection sets are expertly crafted to fit the contours of your vehicle, providing both style and defense against wear and tear.
Here's why our door cup protection sets are a must-have:
-
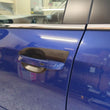
Tailored Fit for Your Mu-X: Designed specifically for the new shape of the 2021-Current 2026 ISUZU Mu-X, our door cup protection sets (x4 protectors) offer a precise fit that seamlessly integrates with your vehicle's aesthetics, ensuring maximum coverage and protection.
-
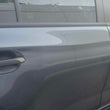
Stylish and Protective: Say goodbye to unsightly scratches and dings above and behind your door handle. Our sets are molded to perfection, providing a sleek and stylish barrier against everyday damage, preserving the pristine appearance of your vehicle.
-
Easy Installation: With a quick and hassle-free DIY installation process, you'll have your door cup protection sets in place in no time. Equipped with a reliable 3M adhesive strip, simply peel and stick for a secure and long-lasting bond. Plus, the adhesive tape comes pre-applied from the manufacturer for your convenience.
-
Compatibility and Assurance: While our door cup protection sets are compatible with most applications, please note that they are not suitable for use with Rhino Hide or other aftermarket accessories that may come into contact with the application areas. Additionally, please ensure compatibility by checking product photos before purchase, as we do not offer refunds for incorrect product choices.
Protect your investment and enhance the appearance of your ISUZU Mu-X with our door cup protection sets. Invest in quality, style, and peace of mind today!
Door Bowl Cup Protector – Installation Guide
NOTE:
Vehicle must be washed and Dry before installation.
Avoid water or car washes for at least 24 hours after installation to allow full adhesive bonding.
We recommend washing the vehicle and allowing time to dry before starting the installation to avoid the possibility of contaminates and reduced adhesion bonding.
-
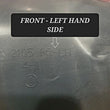
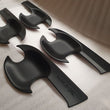
Step 1: Inspect & Identify Parts Carefully inspect all parts received. Make sure you have the correct quantity and shapes for your vehicle (front/rear, left/right). Some designs are position-specific — refer to product photos and part shapes. If you're unsure, please contact us before continuing.
This is a full set of 4.
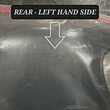
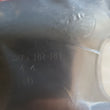
Each piece is clearly labelled for proper placement:
(Please read the labels on rear before fitting)
RR-RH = Rear Right-hand door.
RR-LH = Rear Left-hand door.
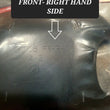
FR-RH = Front Right-hand door.
FR-LH = Front Left-hand door.
-
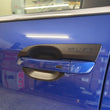
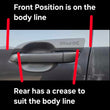
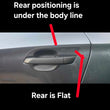
Step 2: Test Fit & Familiarise Lock your vehicle to allow the handle to be pulled out without opening the door. Begin with test fitting each protector: Pull the handle out. Slide the protector in from the top and front of the door bowl area. Once the front is positioned over the handle, lower the rear into place. Use body lines and the handle to align. Apply light pressure to check fitment. Review our product photos to confirm correct orientation. If you have concerns, pause and contact us before attempting to fit.
-
Step 3: Repeat Test Fit for All Doors
Repeat the above test fit process for every door bowl.
This ensures all pieces are correct and avoids fitting errors.
Yes, it takes a little extra time — but it makes the final installation smooth and hassle-free.
-
Step 4: Clean the Surface Thoroughly
This step is critical for proper adhesion.
Mix 50/50 water and isopropyl alcohol.
Wipe each door bowl area thoroughly to remove dirt, wax, or coatings (including ceramic paint protection).
Use a clean microfiber cloth to dry the area fully.
Do not skip this step — poor preparation will lead to adhesive failure!!
-
Step 5: Prepare Adhesive Tabs
On the back of each protector, lift a small portion of the red backing tape on each adhesive strip.Fold these tabs forward — this makes it easier to pull off later without sticking prematurely.
-
Step 6: Final Fitment
Carefully position the protector into place, keeping it slightly away from the surface.
Once you're confident it's correctly aligned, lightly press it into place.
Now remove the red tape backing using the folded tabs from earlier.
Once all backing is removed, press firmly along the adhesive edges and in the center using a microfiber cloth.
Repeat this step for all doors, then go back and press again on the first one installed to ensure maximum bond.
Shipping Policy
Orders are processed within 1-2 business days and typically delivered within 3-7 business days. For more information, please visit our Shipping Policy page.
Returns Policy
We accept returns within 30 days of purchase. Products must be unused and in original packaging. For detailed return instructions, please visit our Returns Policy page.

Exclusive Wholesale Pricing
Unlock tiered pricing, volume discounts, and bulk order incentives built specifically for auto professionals.

Safe & Secure Payment
All transactions are protected with advanced encryption and secure gateways. Shop worry-free with trusted payment methods.

Custom Orders & Bundles
Request custom kits or bulk packages tailored to your shop's needs and seasonal trends.

100% Genuine Products
We supply only OEM and high-quality aftermarket parts you can trust — no compromises on quality or performance.